Empty lip balm tubes serve as containers for creating your own homemade lip balm or for refilling with your favorite lip balm formulation.
Here are a few common uses for empty lip balm tubes:
- Homemade Lip Balm: If you enjoy making your own lip balm, empty lip balm tubes provide a convenient and portable packaging option. You can mix your preferred ingredients, such as beeswax, oils, butters, and essential oils, and pour the mixture into the empty tubes. Once the lip balm solidifies, you’ll have a homemade lip balm ready for use.
- Customized Lip Balm: Empty lip balm tubes allow you to customize the lip balm formulation to suit your preferences. You can experiment with different ingredients, scents, flavors, and even add color if desired. This way, you can create a lip balm that meets your specific needs and tastes.
- Refilling: If you have a favorite lip balm that comes in a jar or a different type of packaging, empty lip balm tubes can be used for refilling. Scoop out the lip balm from its original container and transfer it into the empty tube for easier and more convenient application on the go.
- Sharing or Gifting: Empty lip balm tubes can also be used to share or gift your homemade lip balm creations. You can fill multiple tubes with your homemade lip balm and give them to friends, family, or as party favors.
- Travel or On-the-Go: Having empty lip balm tubes allows you to create travel-sized versions of your favorite lip balms. You can fill them with your preferred lip balm formulation and carry them conveniently in your pocket, purse, or travel bag.
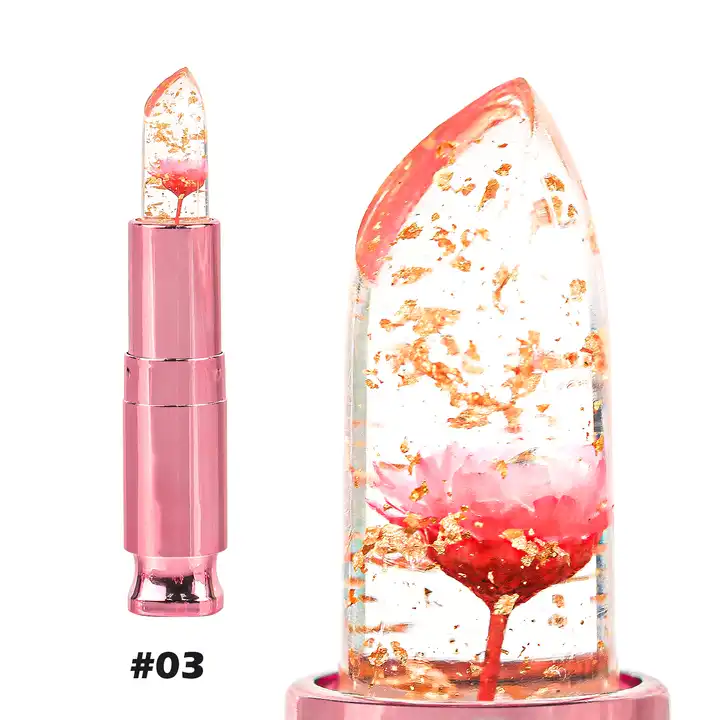
Empty lip balm tubes are readily available for purchase online or at craft stores. They typically come with a twist-up mechanism at the bottom, making it easy to apply the lip balm. Make sure to clean and sanitize the empty tubes before filling them with your homemade or refilled lip balm to maintain hygiene and product freshness.
How can I make my own homemade lip balm using empty lip balm tubes?
Making your own homemade lip balm using empty lip balm tubes is a fun and straightforward process.
Here’s a basic recipe to get you started:
Ingredients:
- 2 tablespoons of beeswax pellets or grated beeswax
- 2 tablespoons of coconut oil or another carrier oil (such as almond oil or jojoba oil)
- 1 tablespoon of shea butter or cocoa butter (optional for added moisture)
- 10-15 drops of your preferred essential oil (such as peppermint, lavender, or citrus) for scent (optional)
- Lip-safe mica or natural colorants (optional for tinted lip balm)
Equipment:
- Double boiler or microwave-safe bowl
- Empty lip balm tubes
- Stirring utensil
- Pipette or dropper (optional for easier pouring)
Instructions:
- Prepare your workspace: Ensure your workspace is clean and sanitized. Lay down parchment paper or a silicone mat to catch any spills or drips.
- Melt the ingredients: In a double boiler or microwave-safe bowl, melt the beeswax, coconut oil, and shea butter (if using) together until fully melted and combined. If using a microwave, heat in short intervals, stirring between each interval to prevent overheating.
- Add essential oils and colorants: Once the mixture has melted, remove it from heat and add your preferred essential oils for scent. If desired, you can also add lip-safe mica or natural colorants for a tinted lip balm. Stir well to distribute the oils and colorants evenly.
- Pour into lip balm tubes: Carefully pour the mixture into the empty lip balm tubes. If you find it easier, you can use a pipette or dropper to transfer the mixture into the tubes. Leave a small space at the top for the lip balm to solidify.
- Allow to cool and solidify: Let the lip balm tubes sit undisturbed on the parchment paper or silicone mat until they have completely cooled and solidified. This may take a few hours, depending on the room temperature.
- Cap and label: Once the lip balm is fully solidified, cap the tubes securely. You can also label the tubes with the ingredients and date of creation for future reference.
- Clean up: Clean any spills or residue from your workspace and utensils using warm soapy water.
Your homemade lip balm is now ready for use or for gifting! Remember to store them in a cool, dry place to maintain their quality. You can experiment with different oils, butters, scents, and colors to create a lip balm that suits your preferences.